
Crafting the Perfect Homemade Pasta from Scratch
There’s something undeniably magical about homemade pasta. Perhaps it’s the texture, the flavor, or simply the satisfaction of creating something from scratch. I remember my first attempt at making pasta—a floury kitchen, an overly enthusiastic rolling pin, and a pasta machine that seemed to have a mind of its own. Yet, despite the chaos, the final product was a triumph. It was a lesson in patience and finesse, and since then, I’ve been hooked. So, let’s embark on this culinary adventure together, shall we?
The Essentials: Ingredients and Tools
Before diving into the dough-making process, let’s talk ingredients. The beauty of pasta lies in its simplicity, with just a few key components that, when combined, yield a delightful result. Here’s what you’ll need:
- Flour: 2 cups of “00” flour (the gold standard) or all-purpose flour if you can’t find it.
- Eggs: 3 large eggs—this is where the magic happens.
- Salt: A pinch, because, well, you don’t want bland pasta.
- Olive Oil: About a tablespoon, optional but recommended for richness.
Now, onto tools. You don’t need a fancy kitchen setup to make pasta. Here’s a list of what will make your life easier:
- A large, clean surface or a wooden board (to create your dough).
- A rolling pin (or a pasta machine if you’re feeling fancy).
- A sharp knife or a pasta cutter (for slicing your pasta into shapes).
- A fork (to beat those eggs, of course).
- A clean kitchen towel (to cover your dough while it rests).
The Dough: Mixing and Kneading
The first step in creating your pasta is mixing the ingredients. On a clean surface, form a mound with your flour. It should resemble a small volcano (minus the lava, of course). Make a well in the center of the flour mound and crack the eggs into it. Add the salt and olive oil. Now, here’s a crucial tip: using a fork, beat the eggs gently, gradually incorporating the flour from the edges of the well. It’s like a slow dance between the eggs and the flour—no one wants to rush a good thing!
Once the mixture starts to come together, it’s time to get your hands dirty. Knead the dough for about 10 minutes until it becomes smooth and elastic. (Trust me, this is a workout you didn’t know you needed.) If the dough is too sticky, sprinkle a bit more flour; too dry? Just a drop of water will do. You want it to feel like a soft baby’s bottom—smooth and pliable, but not too wet.
After kneading, wrap the dough in plastic wrap or cover it with a kitchen towel. Let it rest for at least 30 minutes. This resting period is vital as it allows the gluten to relax—a secret that will make rolling it out much easier.
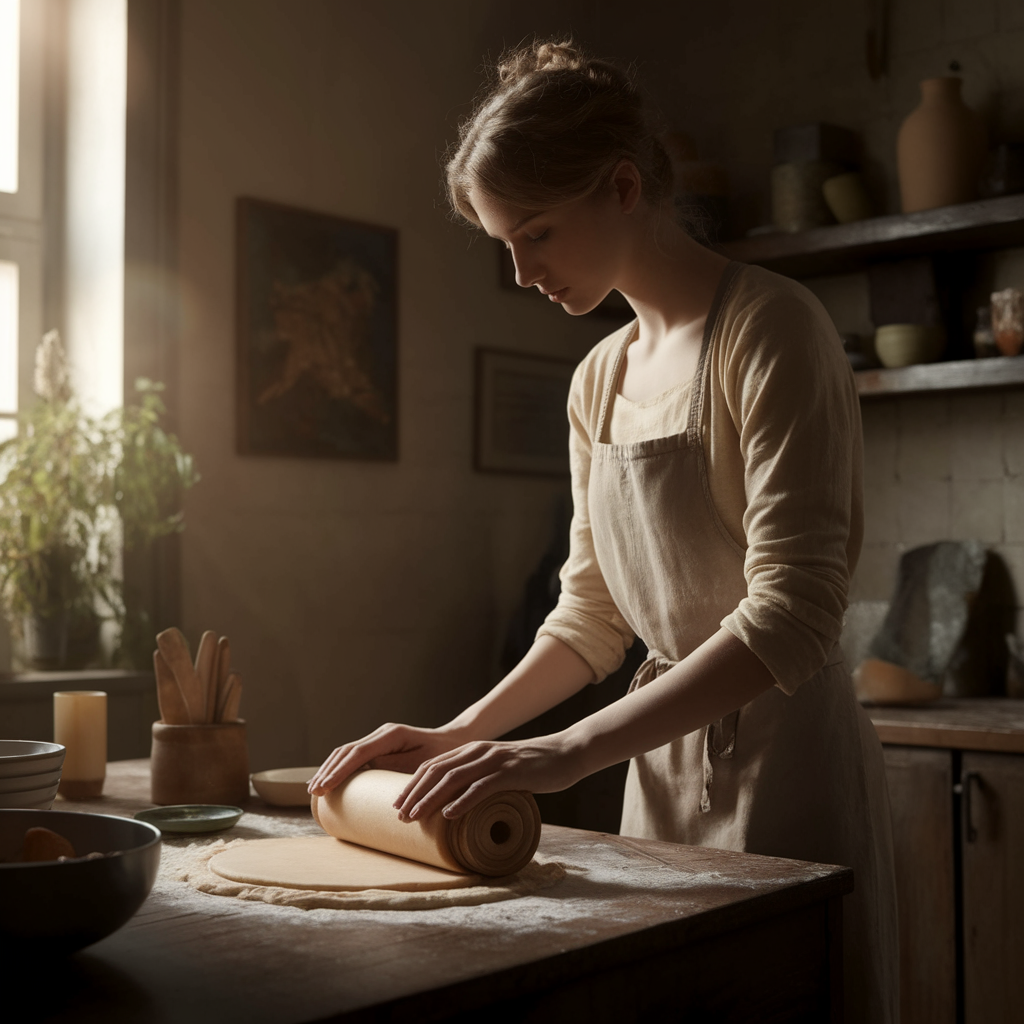
Rolling Out the Dough
Ah, the moment of truth! After patiently waiting, it’s time to roll out the dough. If you have a pasta machine, you’re in for a treat. If not, fear not! A rolling pin will do just fine. Divide your dough into smaller portions (think golf-ball sized) to make it more manageable.
Start with one portion and flatten it slightly with your hands before rolling it out. If using a pasta machine, set it to the widest setting and feed the dough through. Gradually decrease the thickness setting, rolling the dough each time until you reach your desired thickness. Generally, you want it to be about 1/16 of an inch thick—thin enough to see your hand through it, but not so thin that it tears. If you’re rolling by hand, the same thickness applies—just be prepared for a bit more of a workout!
As you roll, sprinkle a little flour on both sides of the dough to prevent sticking. It’s like a little insurance policy against frustration! Once you have your sheets of pasta, you can decide on the shape.
Shaping Your Pasta
So, you’ve got your sheets of beautifully rolled dough. Now what? The world is your oyster—or rather, your pasta. Here are a few classic shapes you might consider:
- Fettuccine: Roll the sheets loosely and slice them into strips, about 1/4 inch wide.
- Tagliatelle: Similar to fettuccine but slightly thinner. It’s a delicate option!
- Lasagna: Simply cut the sheets into rectangles—perfect for layering.
- Ravioli: Cut sheets into squares, fill them, and seal with a fork. (A personal favorite!)
- Pappardelle: For the adventurous, cut wide strips for a rustic feel.
Whichever shape you choose, be sure to dust the cut pasta with a bit of flour to keep it from sticking together. (I learned that lesson the hard way—after a long day, no one wants to unravel a pasta knot!)
Cooking Your Pasta
Now, let’s talk cooking. It’s one of those things that seems simple but can go awry if you’re not paying attention. Start by bringing a large pot of salted water to a rolling boil. You want that water to taste like the sea—salty and full of flavor. This is crucial as it helps season the pasta as it cooks.
Once the water is boiling, gently add your pasta. Fresh pasta cooks much faster than dried, usually in about 2 to 4 minutes. Keep an eye on it; you want it to be al dente, which means it should still have a bit of bite to it. (I once had an unfortunate experience with overcooked pasta that turned into mush—never again!)
Once cooked, reserve some of the pasta water (just in case you need to loosen your sauce) and drain the pasta. Do not rinse it! You want to keep that lovely starch, as it helps the sauce cling to the pasta.
Pairing with Sauces
Ah, the sauce—the pièce de résistance of any pasta dish! While the pasta itself is delightful, it’s the sauce that elevates it to something extraordinary. Here are some classic pairings:
- Marinara: A simple tomato sauce with garlic, onion, and basil. Perfect for fettuccine.
- Alfredo: A creamy sauce of butter, cream, and Parmesan—ideal for your tagliatelle.
- Pesto: A fresh basil sauce that’s perfect tossed with your homemade ravioli.
- Bolognese: A rich meat sauce that pairs beautifully with pappardelle.
As you prepare your sauce, remember that the best sauces often start with a good base—a sauté of garlic and onions, perhaps. Don’t rush it; let those flavors develop. And don’t forget to use that reserved pasta water to adjust the sauce’s consistency. A splash can work wonders!
Final Touches: Plating and Serving
Once your pasta is dressed in sauce, it’s time to plate up. A simple trick I learned from a chef was to use tongs to twirl the pasta into a nest on the plate—it adds a touch of elegance! Finish with a sprinkle of freshly grated Parmesan and a drizzle of olive oil for that extra flair. You might even consider some freshly cracked black pepper or a few basil leaves for garnish.
And voilà! You have a dish that not only tastes heavenly but also looks like it belongs in a five-star restaurant. (I often find myself lingering over the presentation—my family has come to expect a bit of flair during dinner time!)
Storing Leftovers
If you happen to have any leftovers (which is rare in my household), store them in an airtight container in the refrigerator for up to three days. You can reheat the pasta in a pan over low heat with a splash of water or sauce to bring it back to life. And remember, pasta tends to taste even better the next day, as the flavors meld together. It’s like a culinary afterparty!
Common Mistakes and Troubleshooting
Even the most seasoned cooks can run into mishaps. Here are a few common mistakes I’ve encountered and how to avoid them:
- Too sticky dough: This usually means you need more flour. Don’t be shy; sprinkle it liberally!
- Overcooked pasta: Set a timer! It’s easy to get sidetracked by other kitchen tasks.
- Pasta clumping together: Dust with flour before storing, and make sure to cook in plenty of water.
- Flavorless pasta: Don’t skip the salt in the cooking water—it’s essential for flavor!
Remember, every mistake is just a stepping stone to becoming a better cook. It struck me that some of my favorite pasta dishes were born from unexpected errors. Embrace them!
A Personal Reflection: The Joy of Homemade Pasta
As I sit down to enjoy a plate of my homemade pasta, I can’t help but reflect on the memories tied to this simple dish. It’s not just about the food; it’s about the process, the laughter shared in the kitchen, and the joy of creation. Cooking pasta from scratch invites creativity and experimentation—each time I make it, I discover something new.
With each bite, I’m reminded of family gatherings, where we’d all gather around the table, sharing stories and laughter. Homemade pasta has a way of bringing people together, creating bonds through the shared experience of cooking and dining. (And let’s be honest, who doesn’t enjoy a good carb fest?)
Conclusion: Your Pasta Journey Awaits
Crafting the perfect homemade pasta from scratch is not just a culinary skill; it’s an art form that requires practice, patience, and a sprinkle of passion. As you embark on this journey, remember that it’s okay to make mistakes. Embrace the chaos of flour-covered countertops and the thrill of trying something new.
So, gather your ingredients, roll up your sleeves, and dive into the wonderful world of homemade pasta. Whether you’re a seasoned chef or a curious beginner, the rewards are boundless. Who knows? You might just create something that becomes a cherished family tradition, the kind of dish that evokes nostalgia and warmth for years to come.
Happy cooking!